
Recording → text
Upload video with speech or an audio recording. The text appears beside the material in the player.
Transcription converts recorded speech into text. Time-Notes adds timecodes so you can find a quote, jump to that moment in the video, and download text or subtitles.
Upload video with speech or an audio recording. The text appears beside the material in the player.
Click a timecode or word to jump to the recording. Precision depends on the timing data in the transcript.
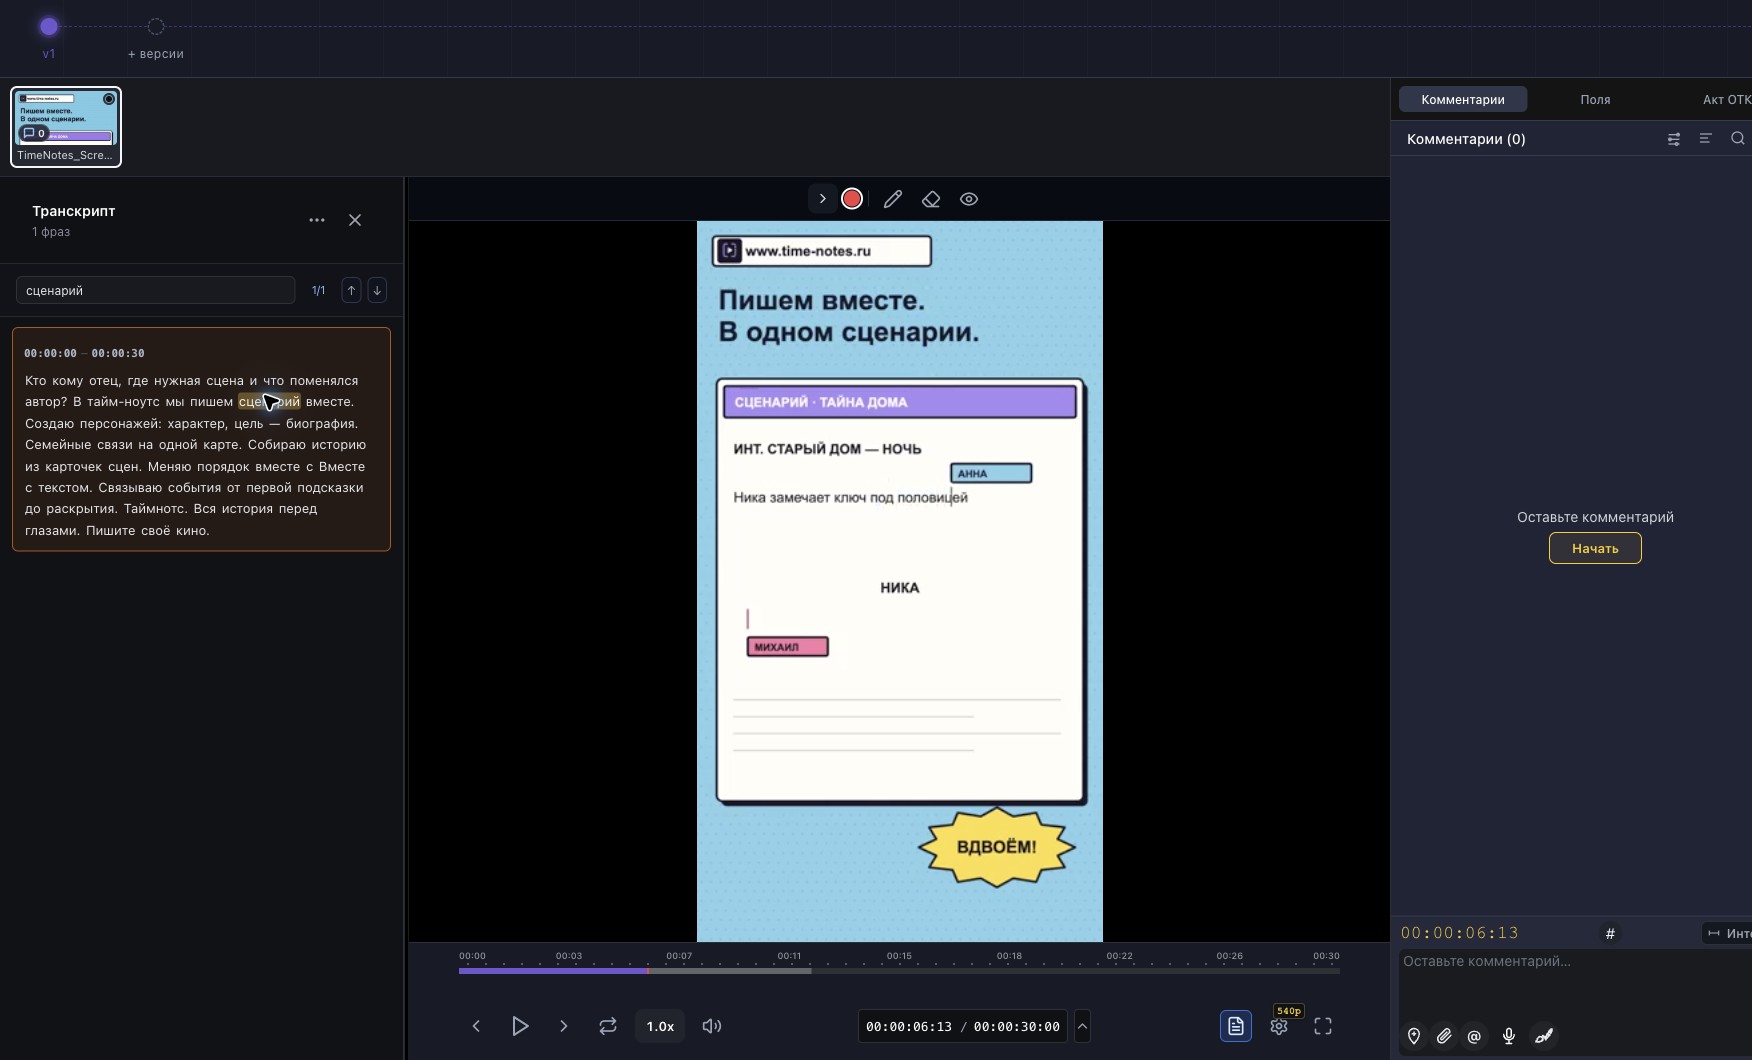
Find a name, term, or quote and move through every match in the recording.
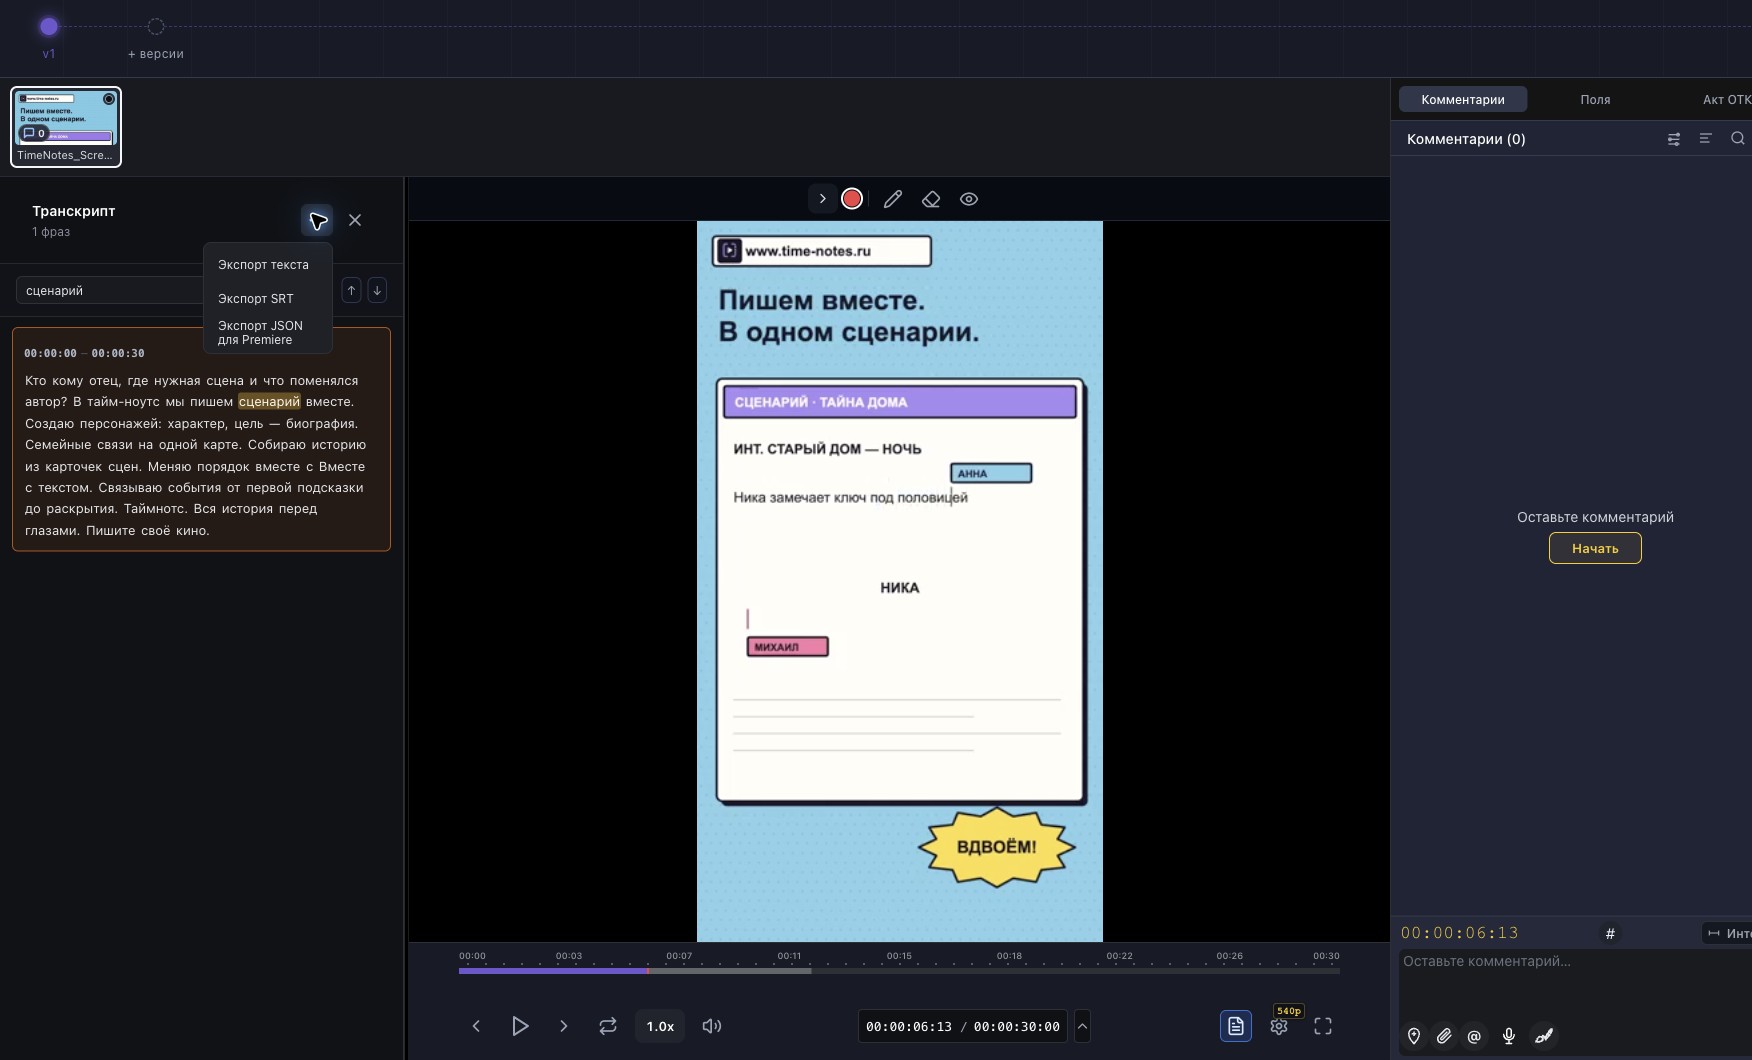
Download TXT for text work, SRT for subtitles, or transcript JSON for Adobe Premiere.
Transcription is available inside a project with video and audio. Follow one recording through the full workflow below. Start recognition from the file menu or the transcript panel in the player.
Common formats: MP4, MOV, WEBM · WAV, MP3, M4A, OGG, OPUS. Transcription requires a recording with speech and an audio track. File formats and requirements.
Open the full library guide (Russian) →Open Review in the project sidebar. When creating a project, choose Video and audio: this is where you upload recordings, discuss them and turn speech into text.
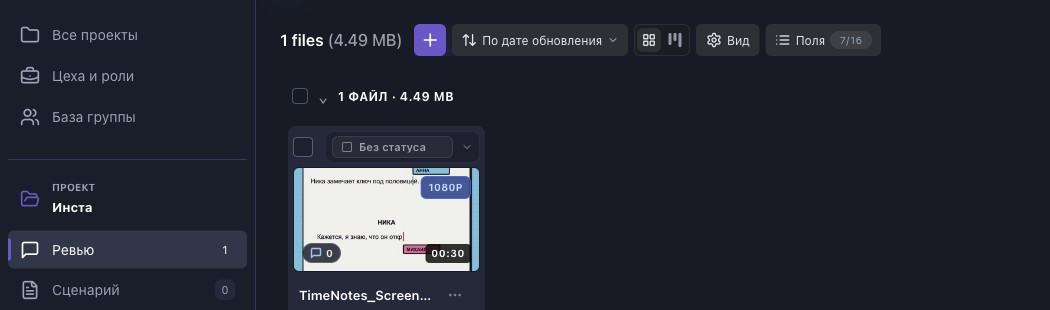
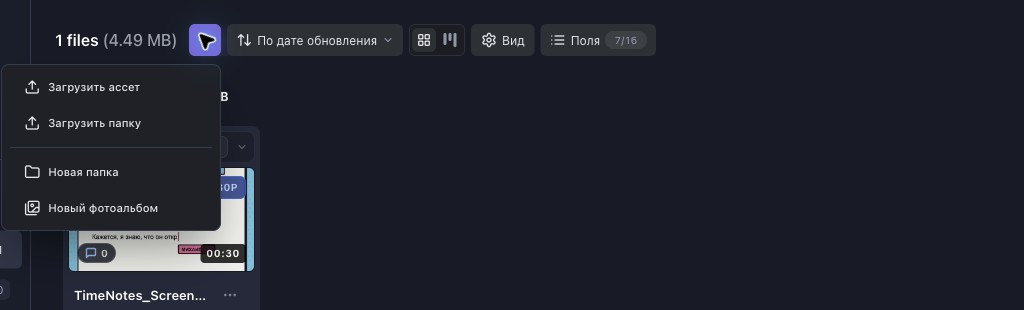
Click Upload file or + → Upload asset and choose a video or audio recording. Wait for the upload and audio preparation to finish. Double-click the file to open it, or press Enter on its selected card.
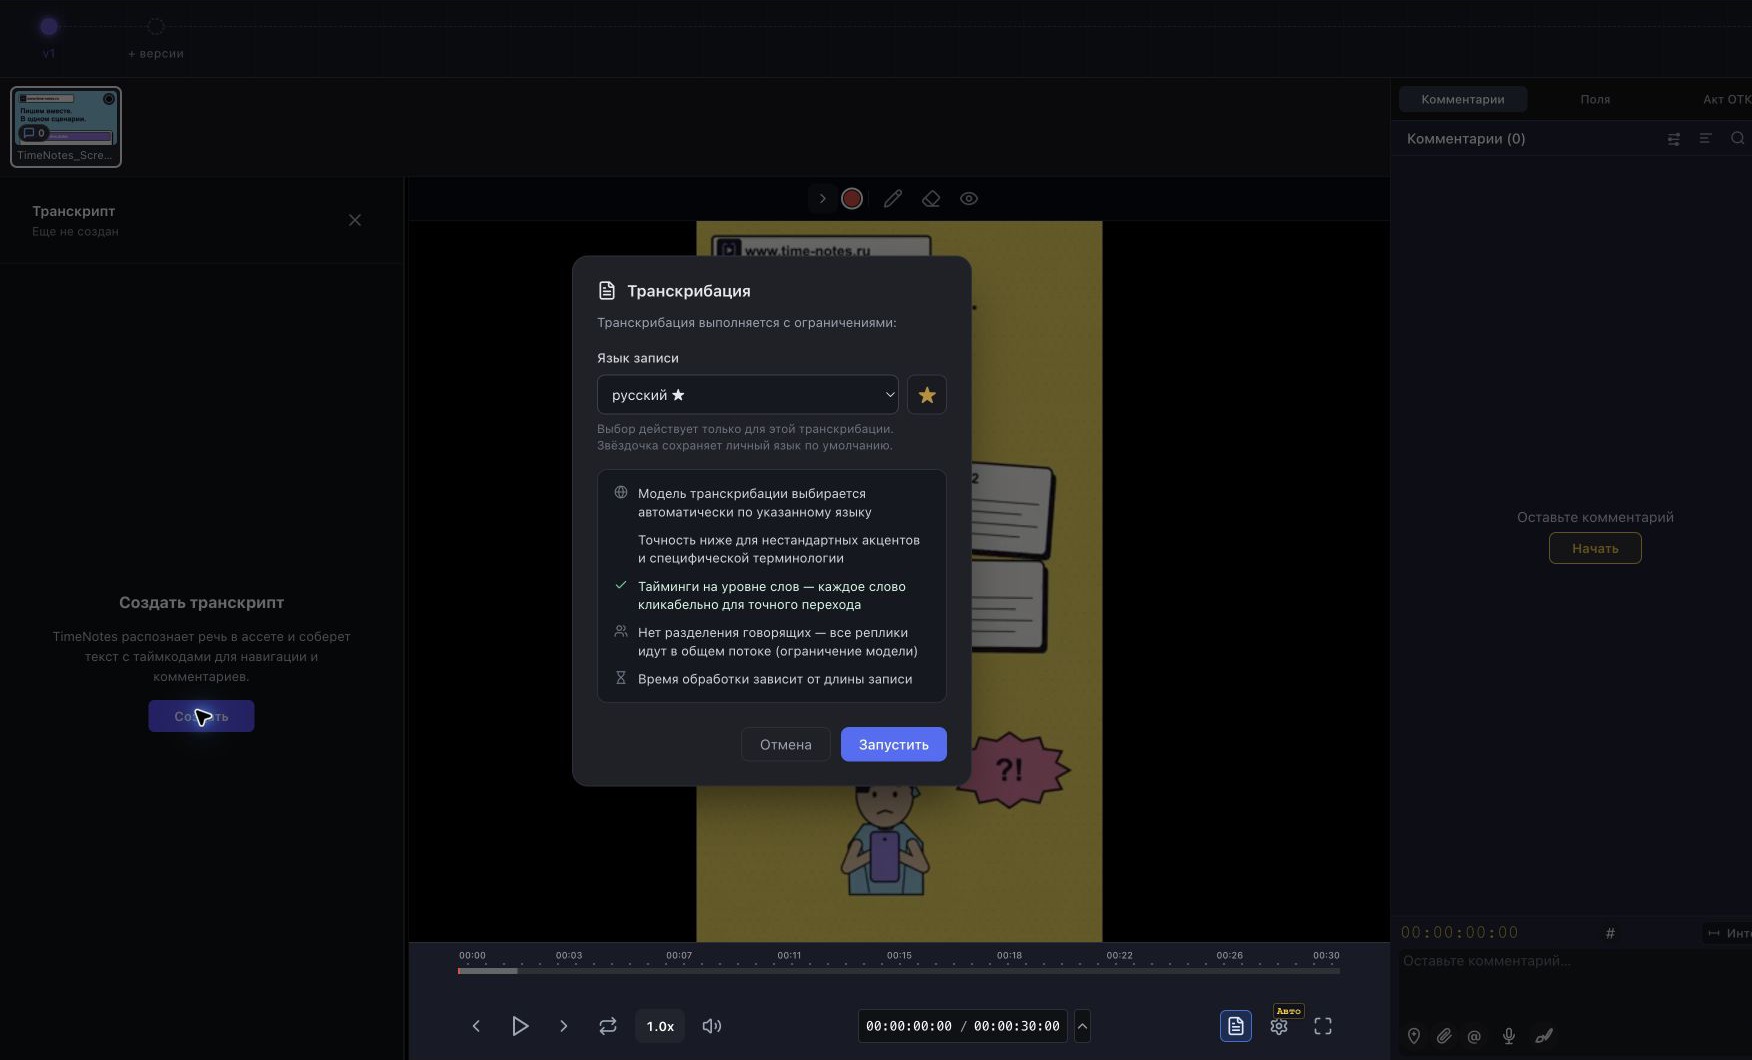
Open Transcript in the player and click Create. Choose the spoken language and click Start. Use automatic detection if you do not know the language. The star saves a language for future runs.
The panel shows the job status while speech is being recognized. You can close the player and return later: processing continues in the background. The finished transcript appears beside the recording with timestamps.
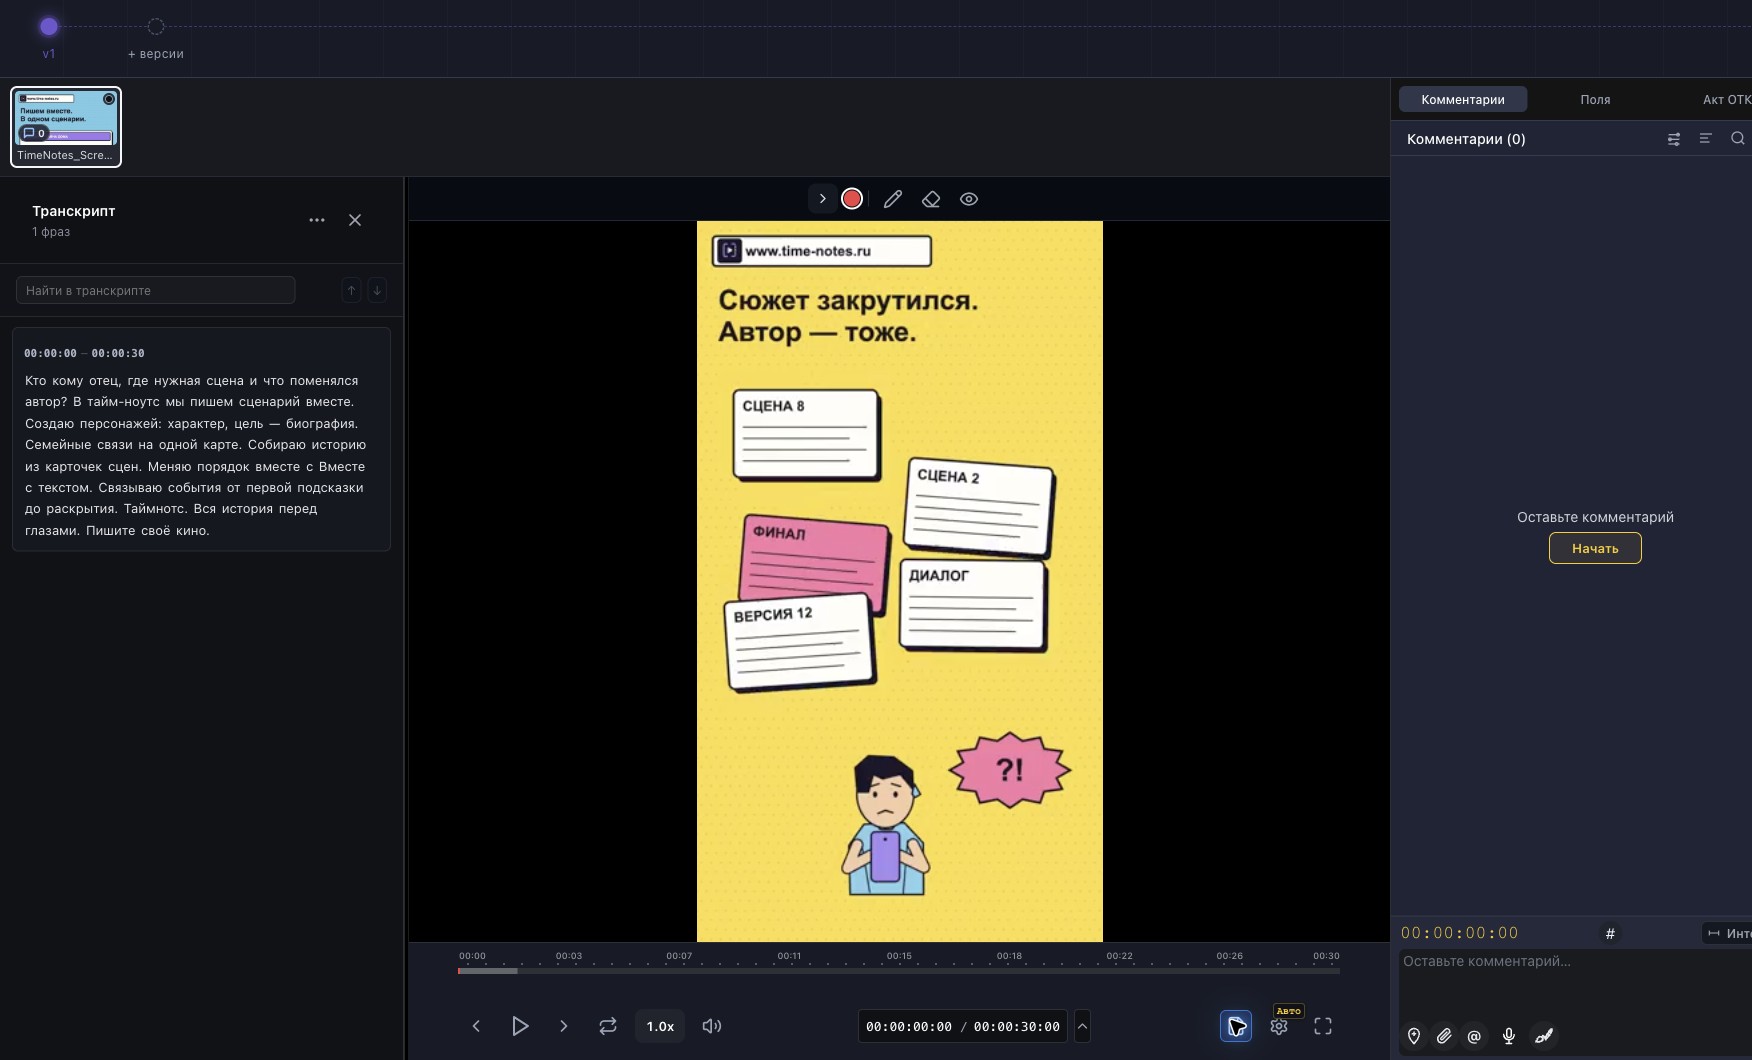
Enter a word or phrase in Search transcript. Use the arrows to move between matches. Click a timestamp or a timed word to jump to that moment. Lines and Phrases change how the text is displayed.
In the Transcript menu, choose Export text for TXT, Export SRT for subtitles, or Export JSON for Premiere for a Premiere version that supports transcript import. Check recognized speech against the recording before publishing it.
Upload video or audio, create a transcript, and work with the content in the same player where the team reviews the material.